macOS Setup: My Personal Settings and Customizations
apple
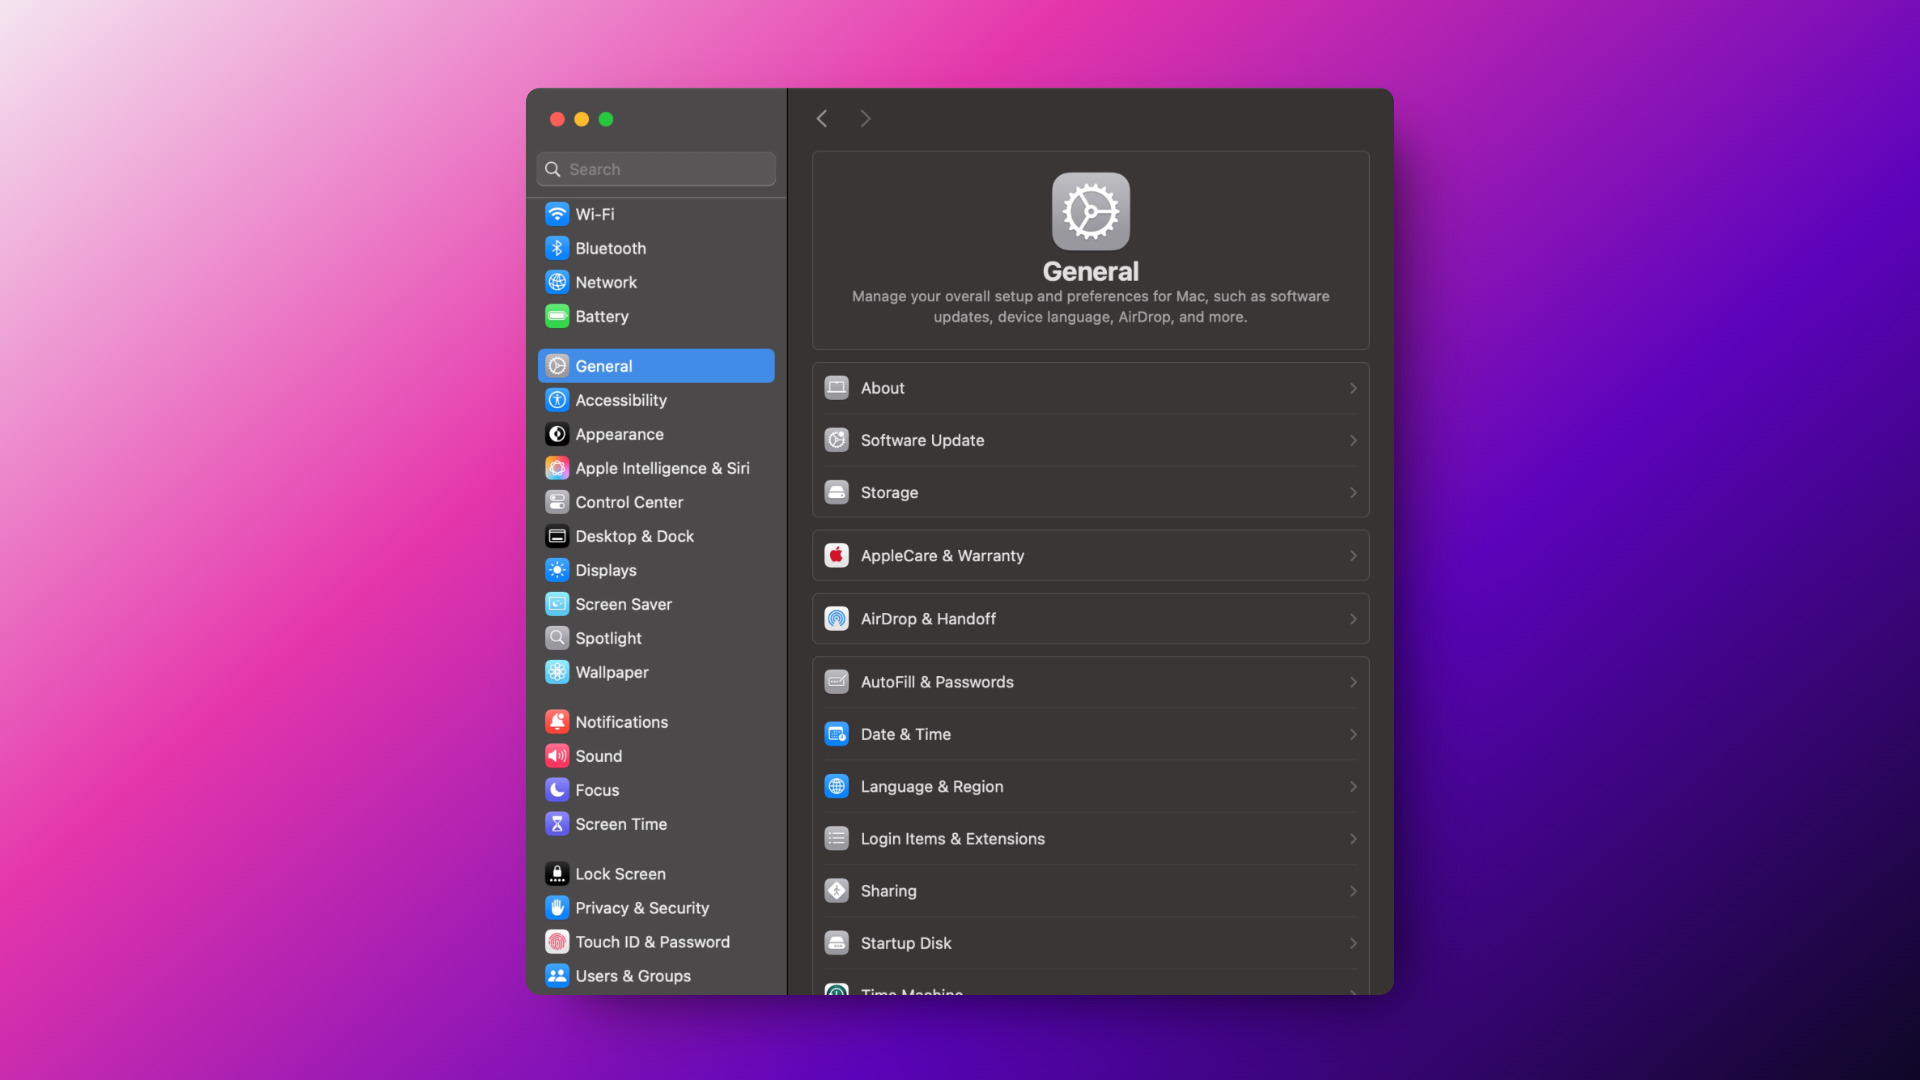
As you might remember from my post, How It All Began: From Windows PCs to MacBook, I’m now a MacBook user. I always find it interesting to see which tools others use—there might be something fantastic I haven’t tried yet that could make my daily work a little easier. I’ll be diving into those tools in detail in upcoming posts. For this article, I’ll focus on macOS and the settings I apply right after installation.
Table of Contents
- Username Doesn’t Have to Be Your Real Name
- Spotlight
- FileVault
- Visual Adjustments
- Appearance
- Hostname
- TimeMachine
- Offline Folders Synced with iCloud
- Final Thoughts
Username Doesn’t Have to Be Your Real Name
I avoid using my real name. During macOS setup, Apple asks for a first and last name, which isn’t my preference. So, instead of entering my actual name as suggested, I use a pseudonym. If someone opens my MacBook, there’s no reason for them to immediately know who it belongs to. Not that my device ends up in strangers’ hands, but better safe than sorry.
Spotlight
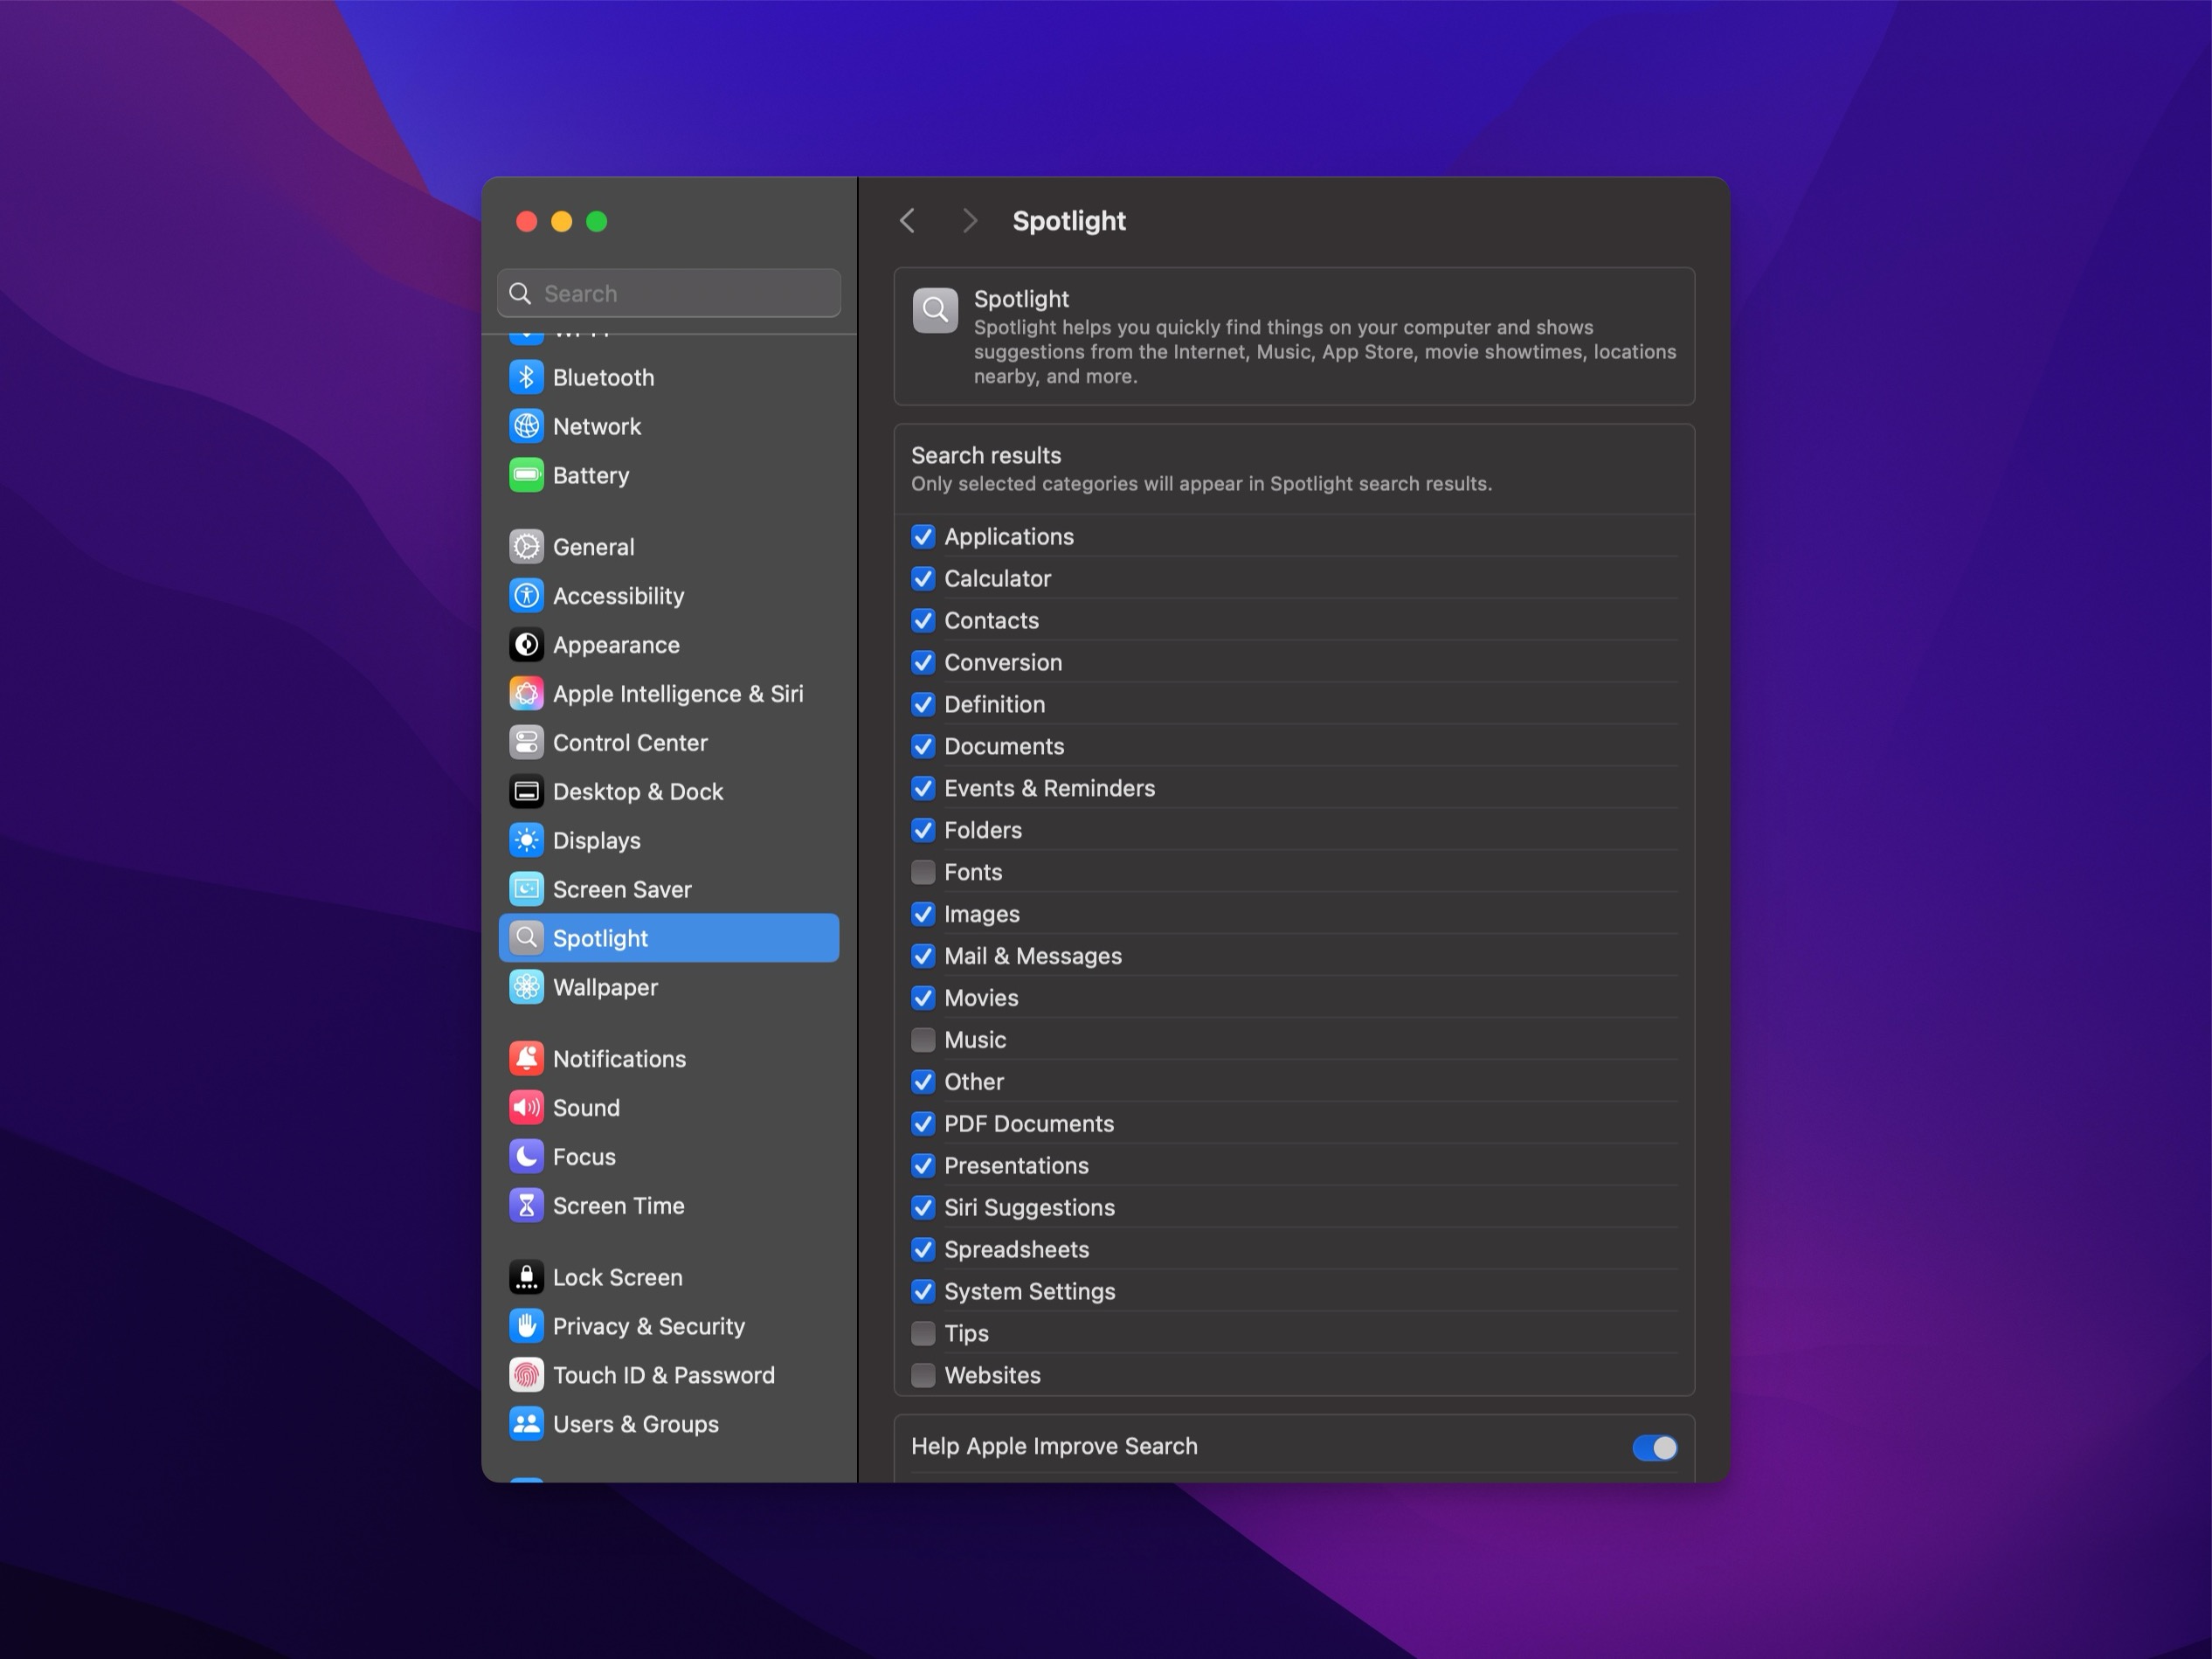
I disable unnecessary categories like music, fonts, tips, and websites. This saves time and makes searching more efficient. Plus, it speeds up the search process by indexing only the truly relevant content. I don’t see the need to clutter up the index with everything—it often just fills up results with irrelevant hits, making things less organized. This way, I can focus on the important content and avoid distractions from unnecessary results.
FileVault
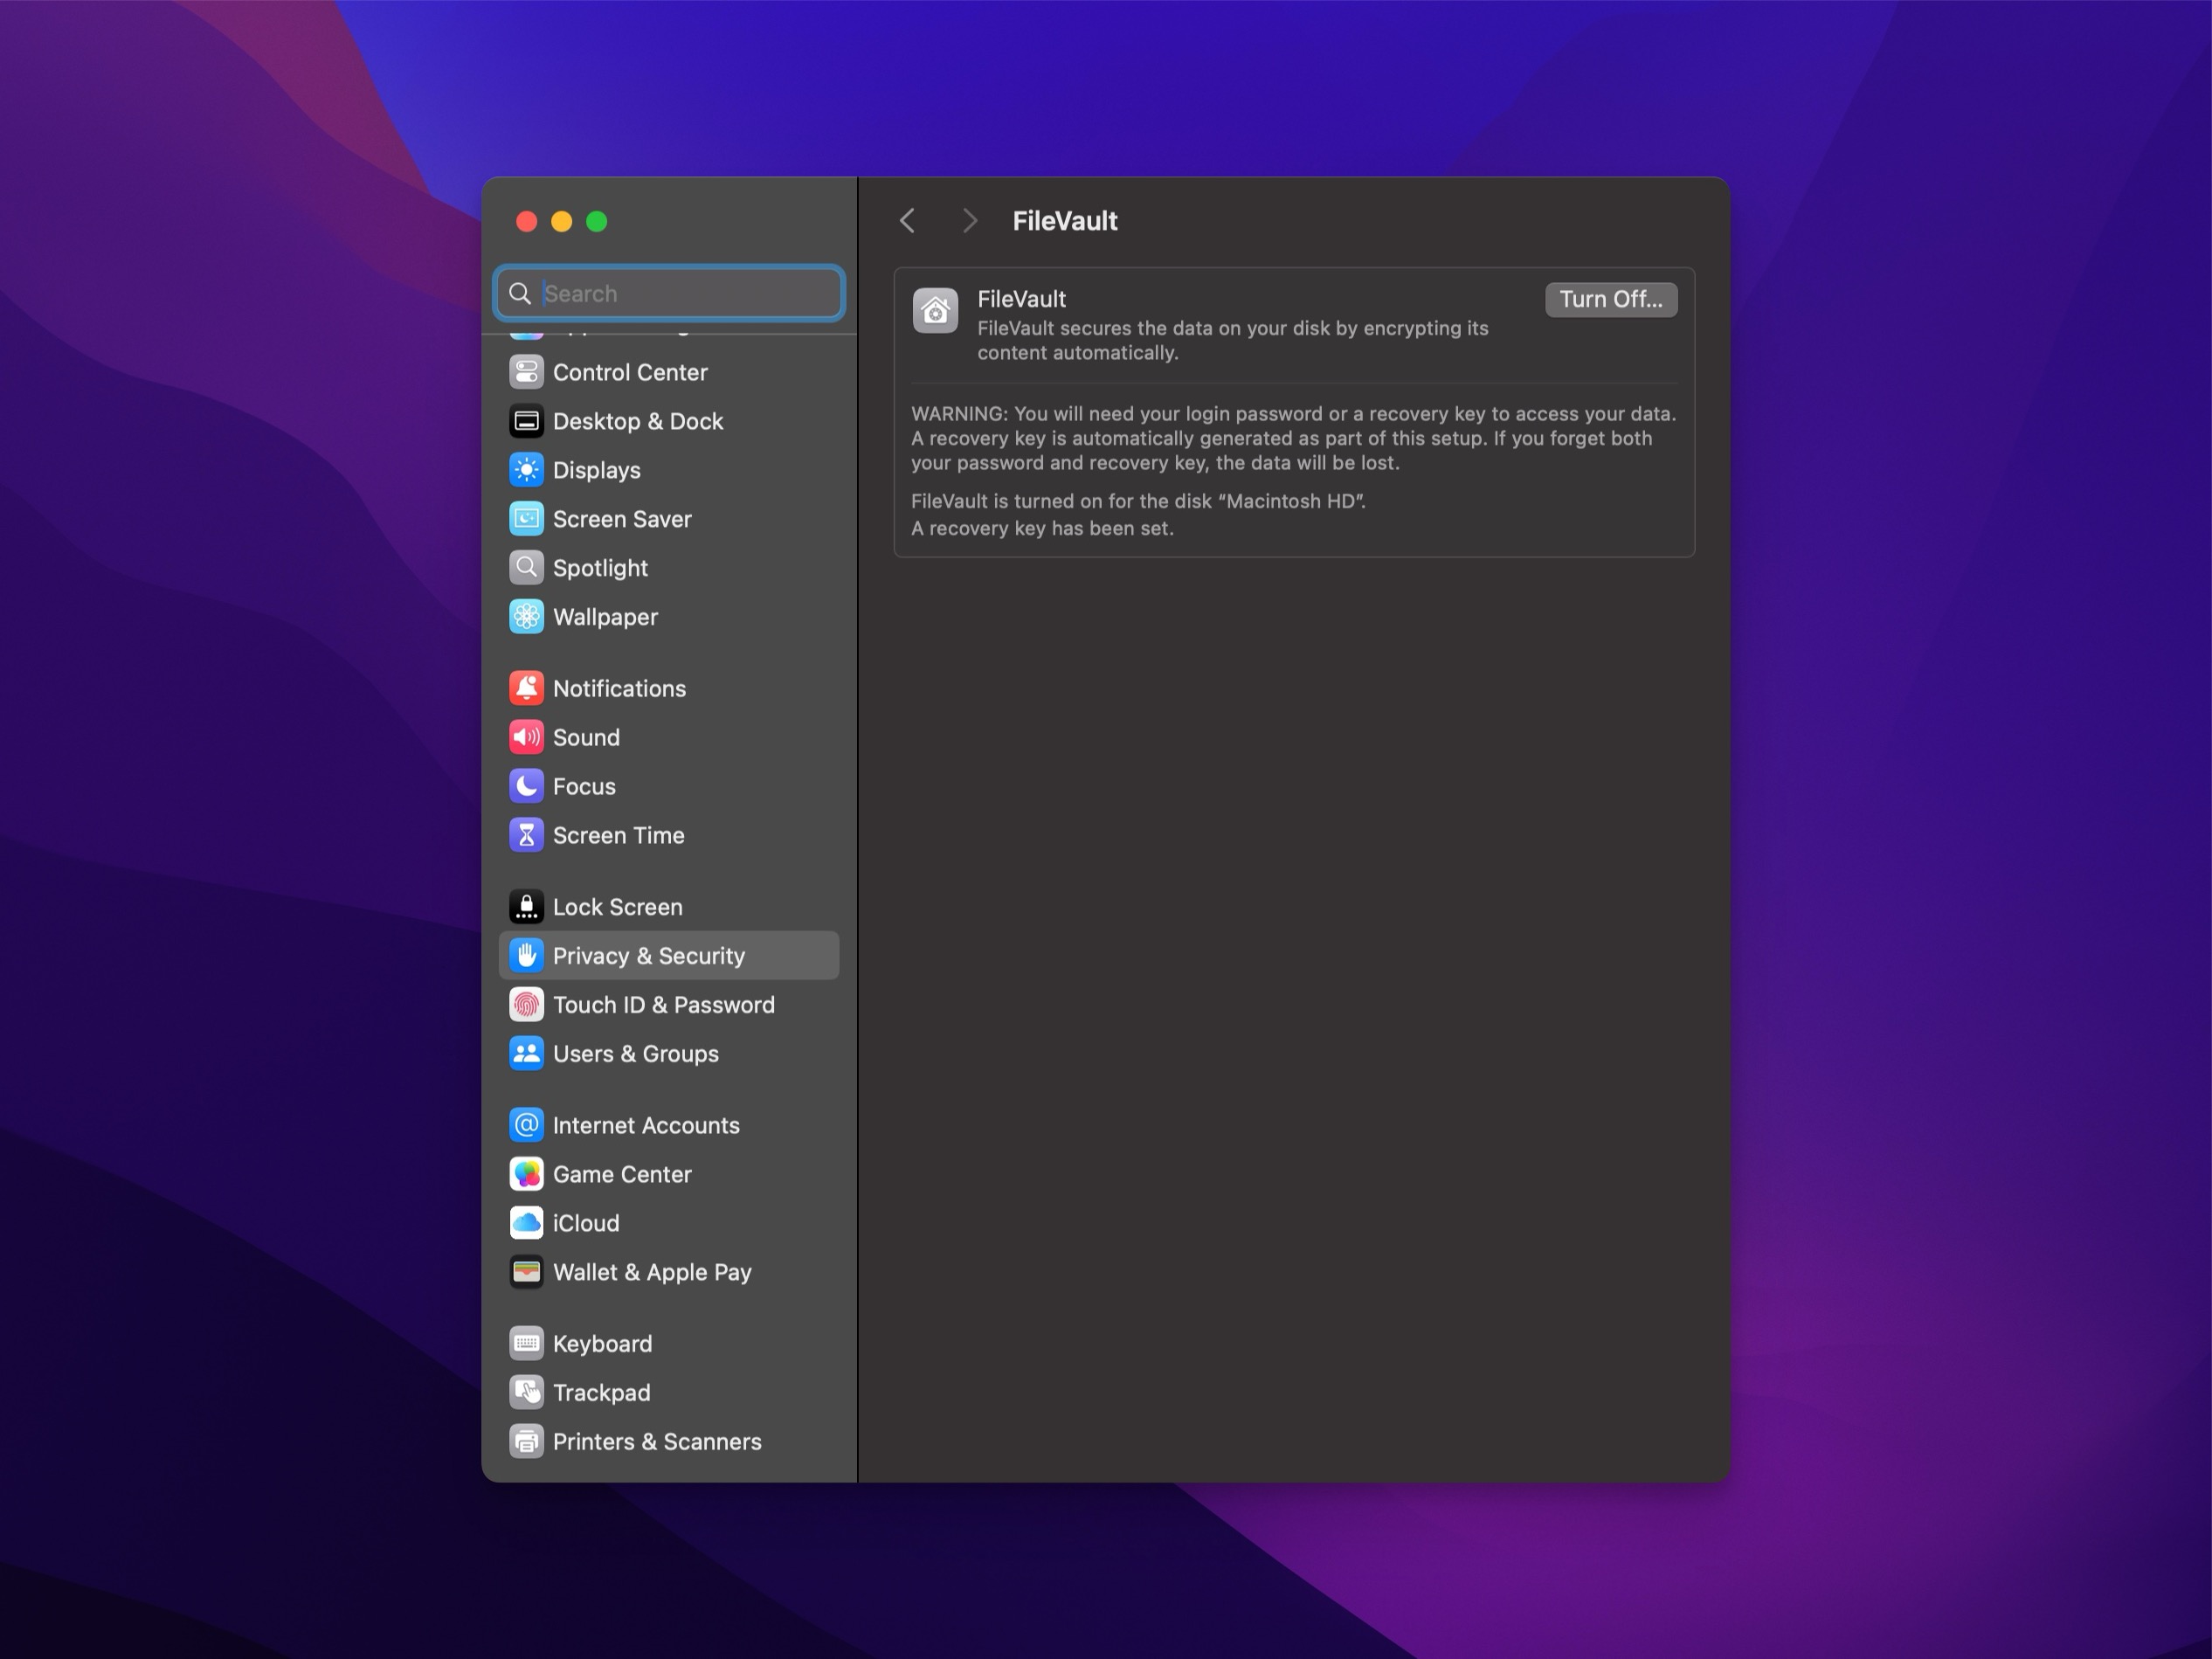
Of course, I have FileVault enabled for disk encryption. This reassures me that even if my MacBook were stolen, my data would remain secure and unreadable. I don’t use the option to recover the password through my Apple account in case I forget it. Instead, I save it in my password manager (1Password), which provides secure and reliable storage. This way, I have full control over my encryption.
Visual Adjustments
Appearance
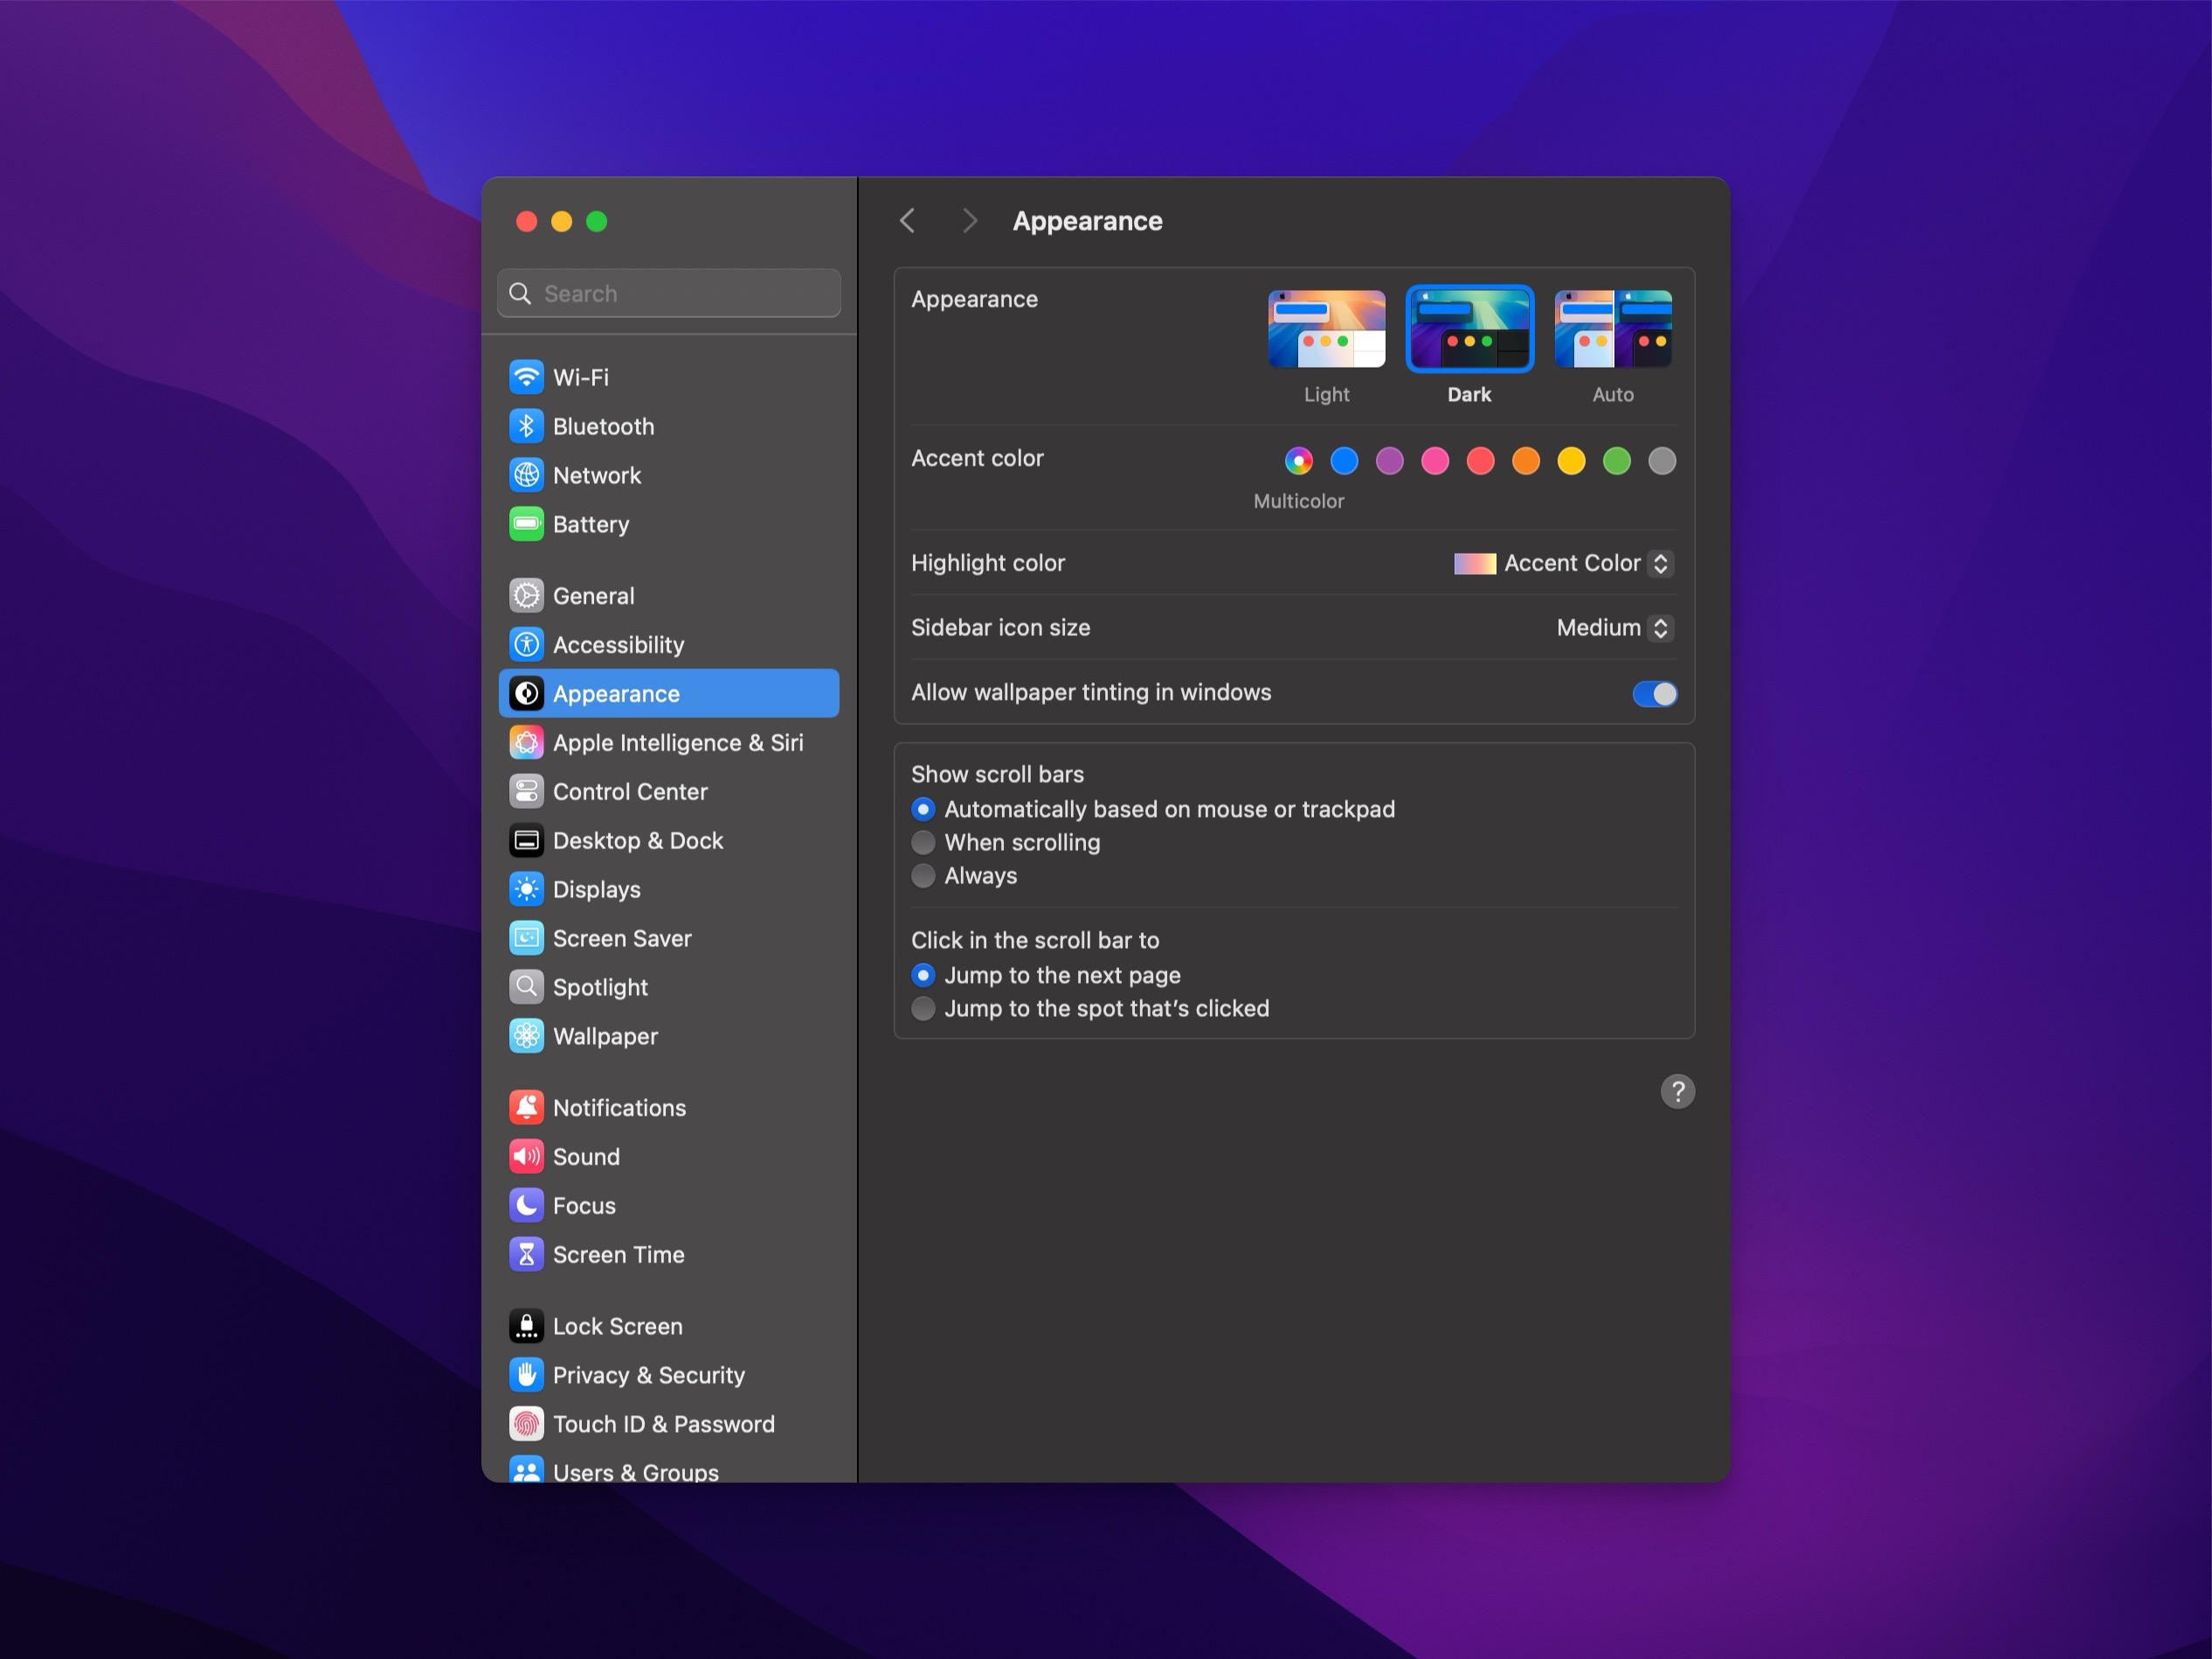
I use the automatic mode, as shown in the screenshot. This setting adapts the look based on the time of day, switching between light and dark mode. It’s easier on the eyes—light mode is readable in daylight, while dark mode reduces harsh light in the evening. Coupled with True Tone, which adjusts the screen’s color temperature to the surrounding light, it creates a more comfortable viewing experience. This is especially helpful in the evening to reduce blue light exposure, which is better for sleep. I’ll go into more detail about my health routines in a future post.
Desktop and Dock
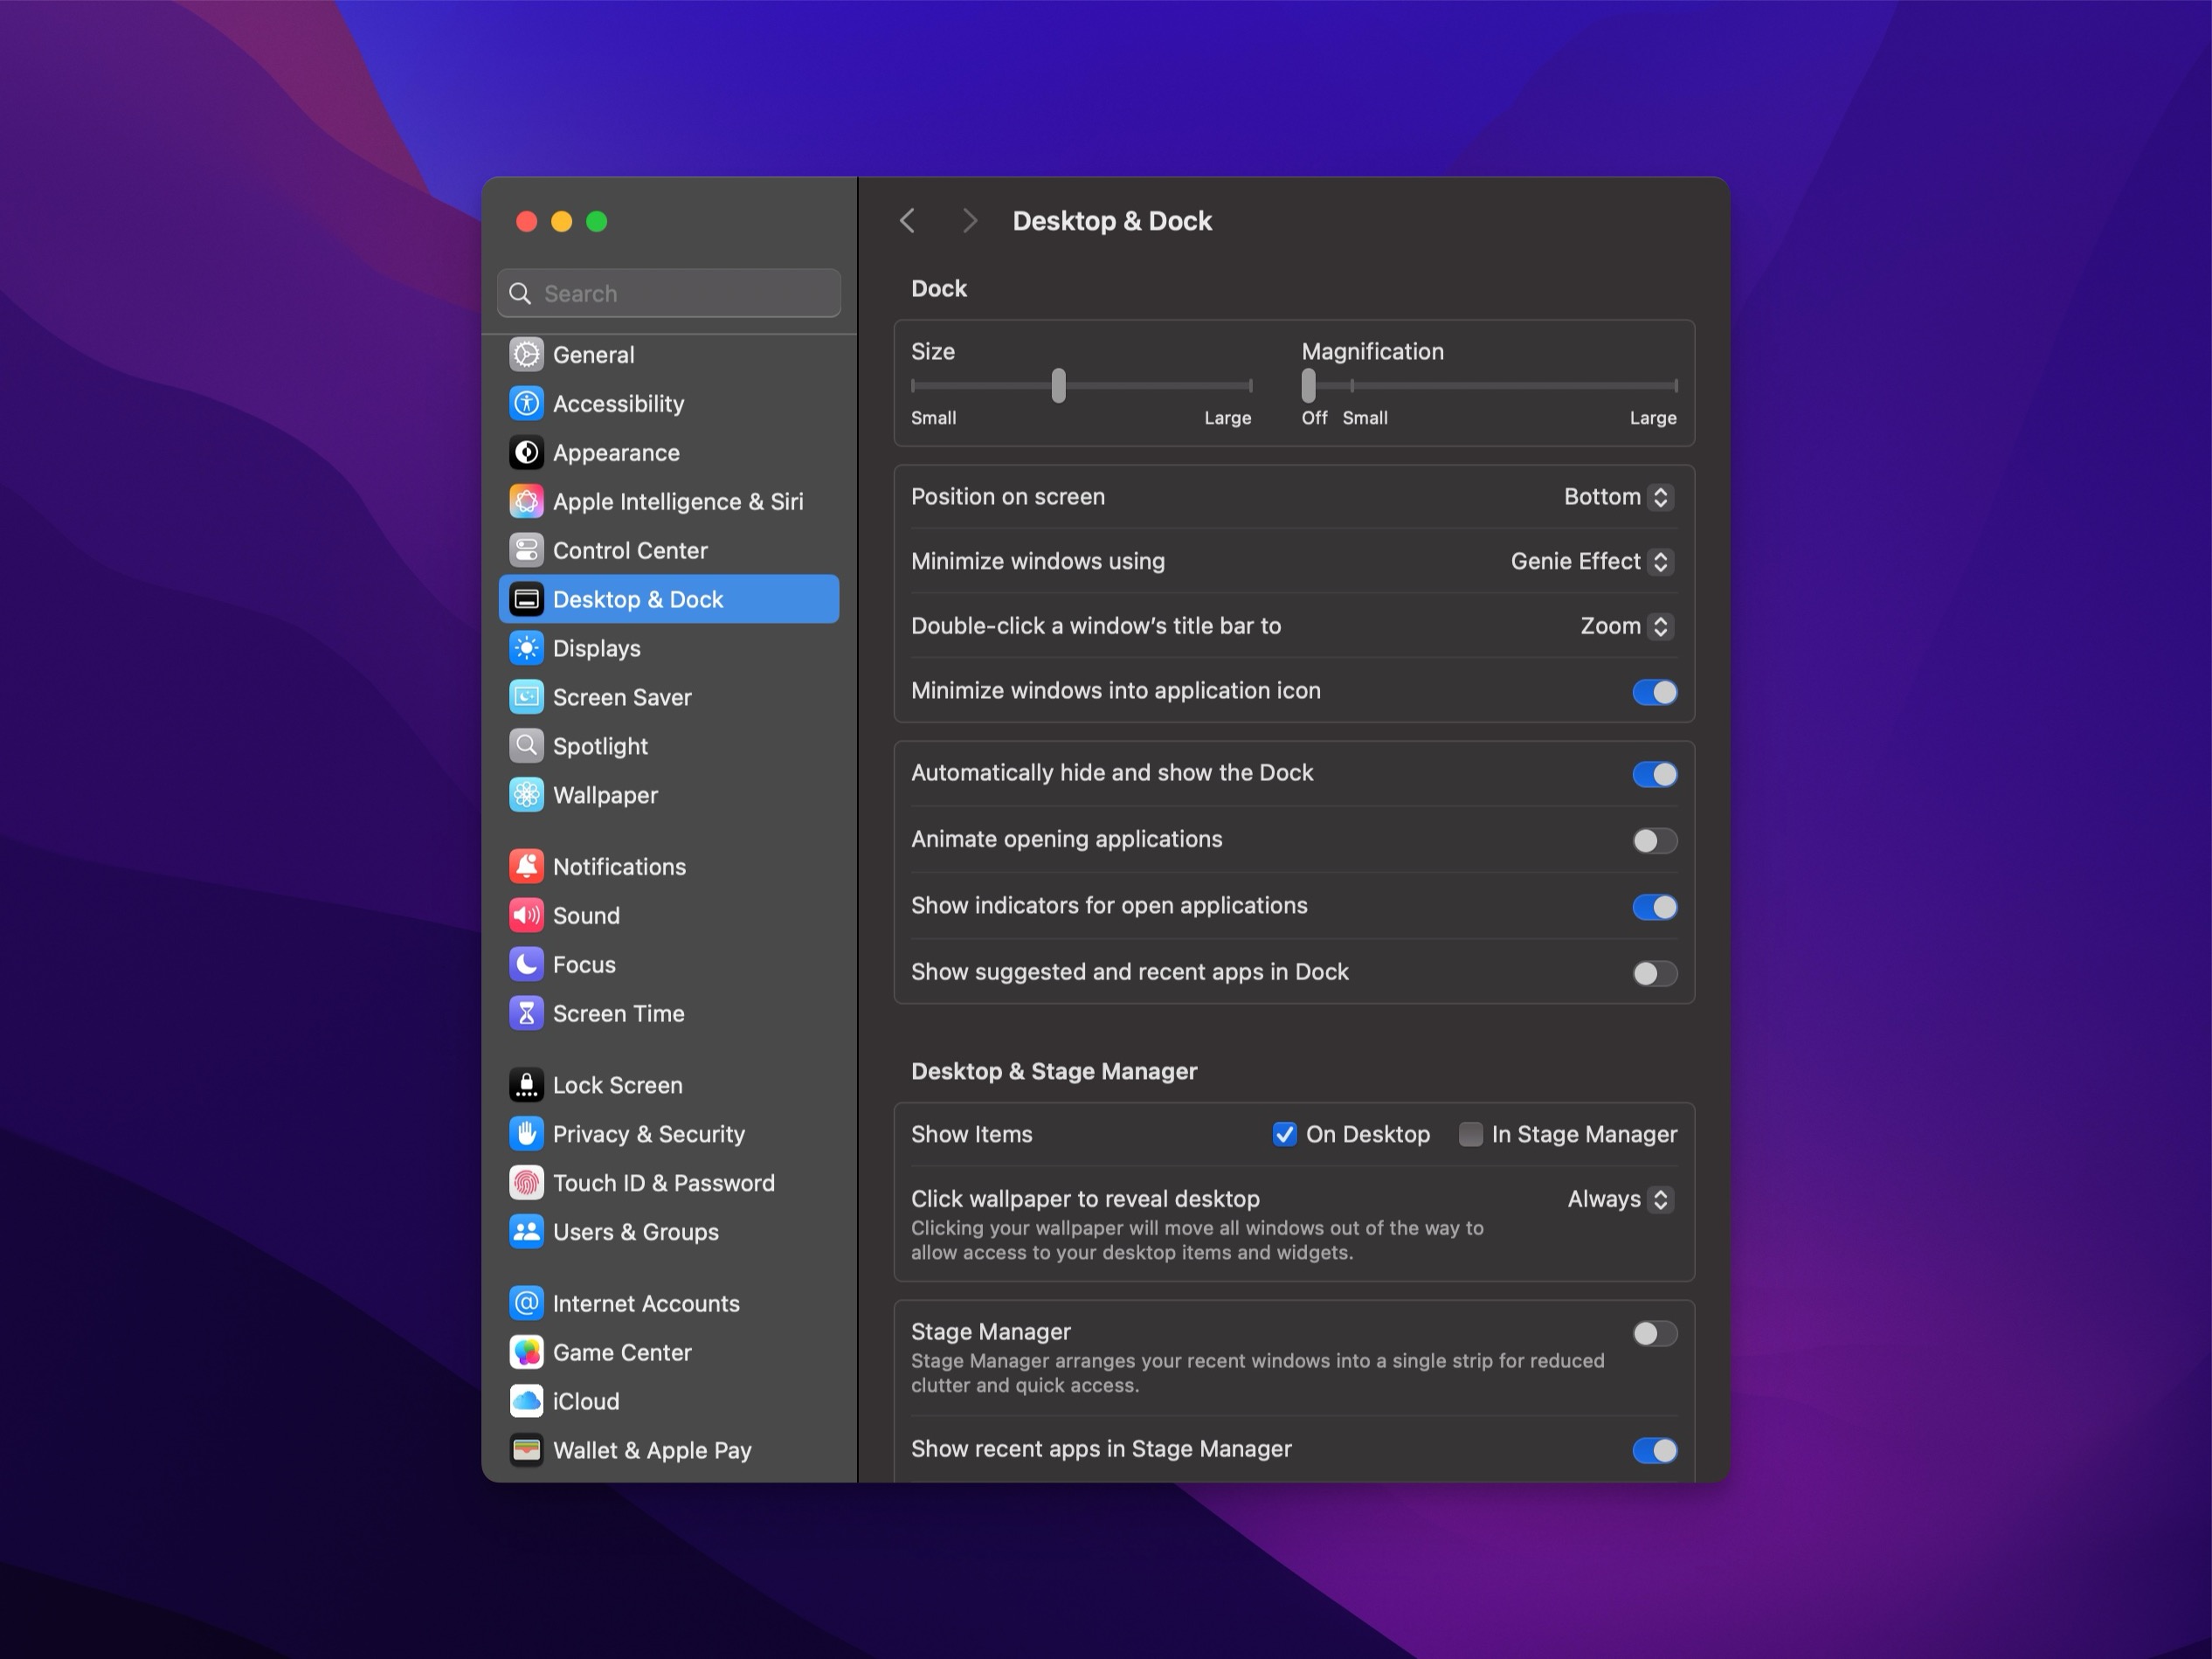
The only visual tweak I make is setting the Dock to auto-hide, maximizing screen space by removing the always-visible dock at the bottom. I also turn off window animations and have windows minimized into their icons in the Dock.
Displays
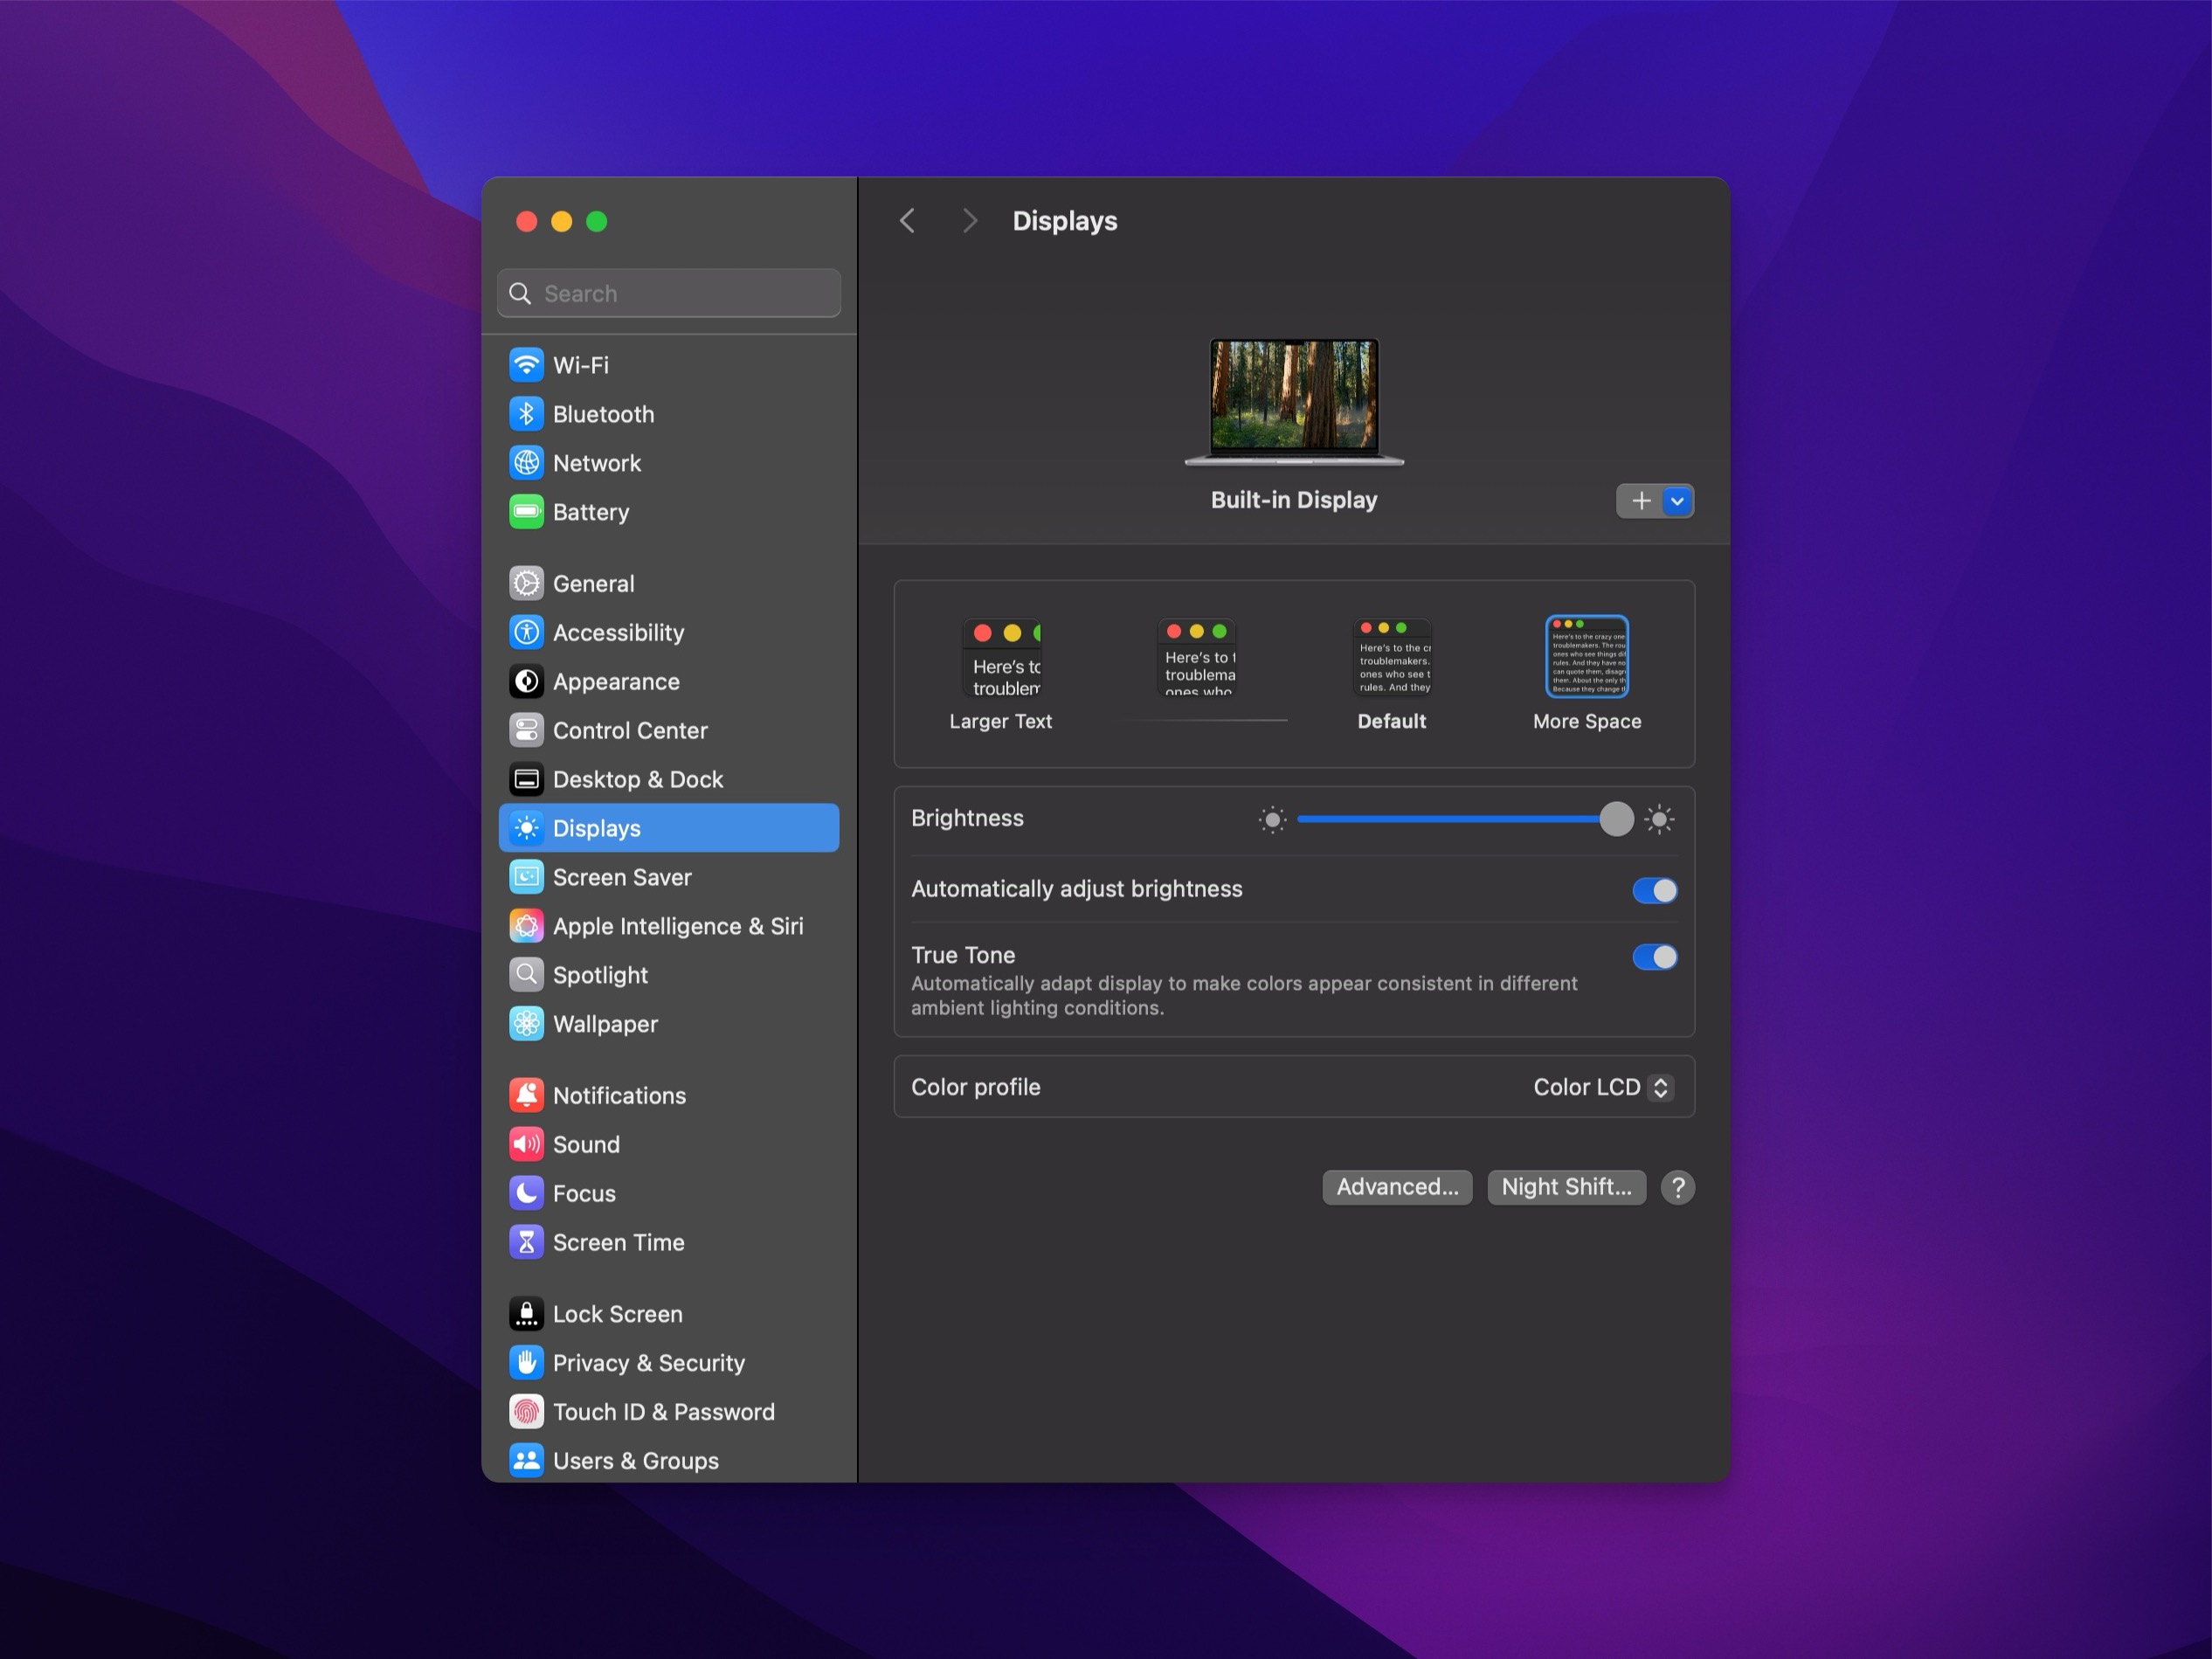
This setting gives me more screen real estate by making everything slightly smaller, letting me view more at once. On my MacBook, I use “More Space” to have a larger working area, especially handy for working with multiple windows. On my Studio Display, though, I stick with the default setting, as the larger screen already provides plenty of space, and I prefer the text size slightly bigger. This way, I can fully benefit from both devices.
Hostname
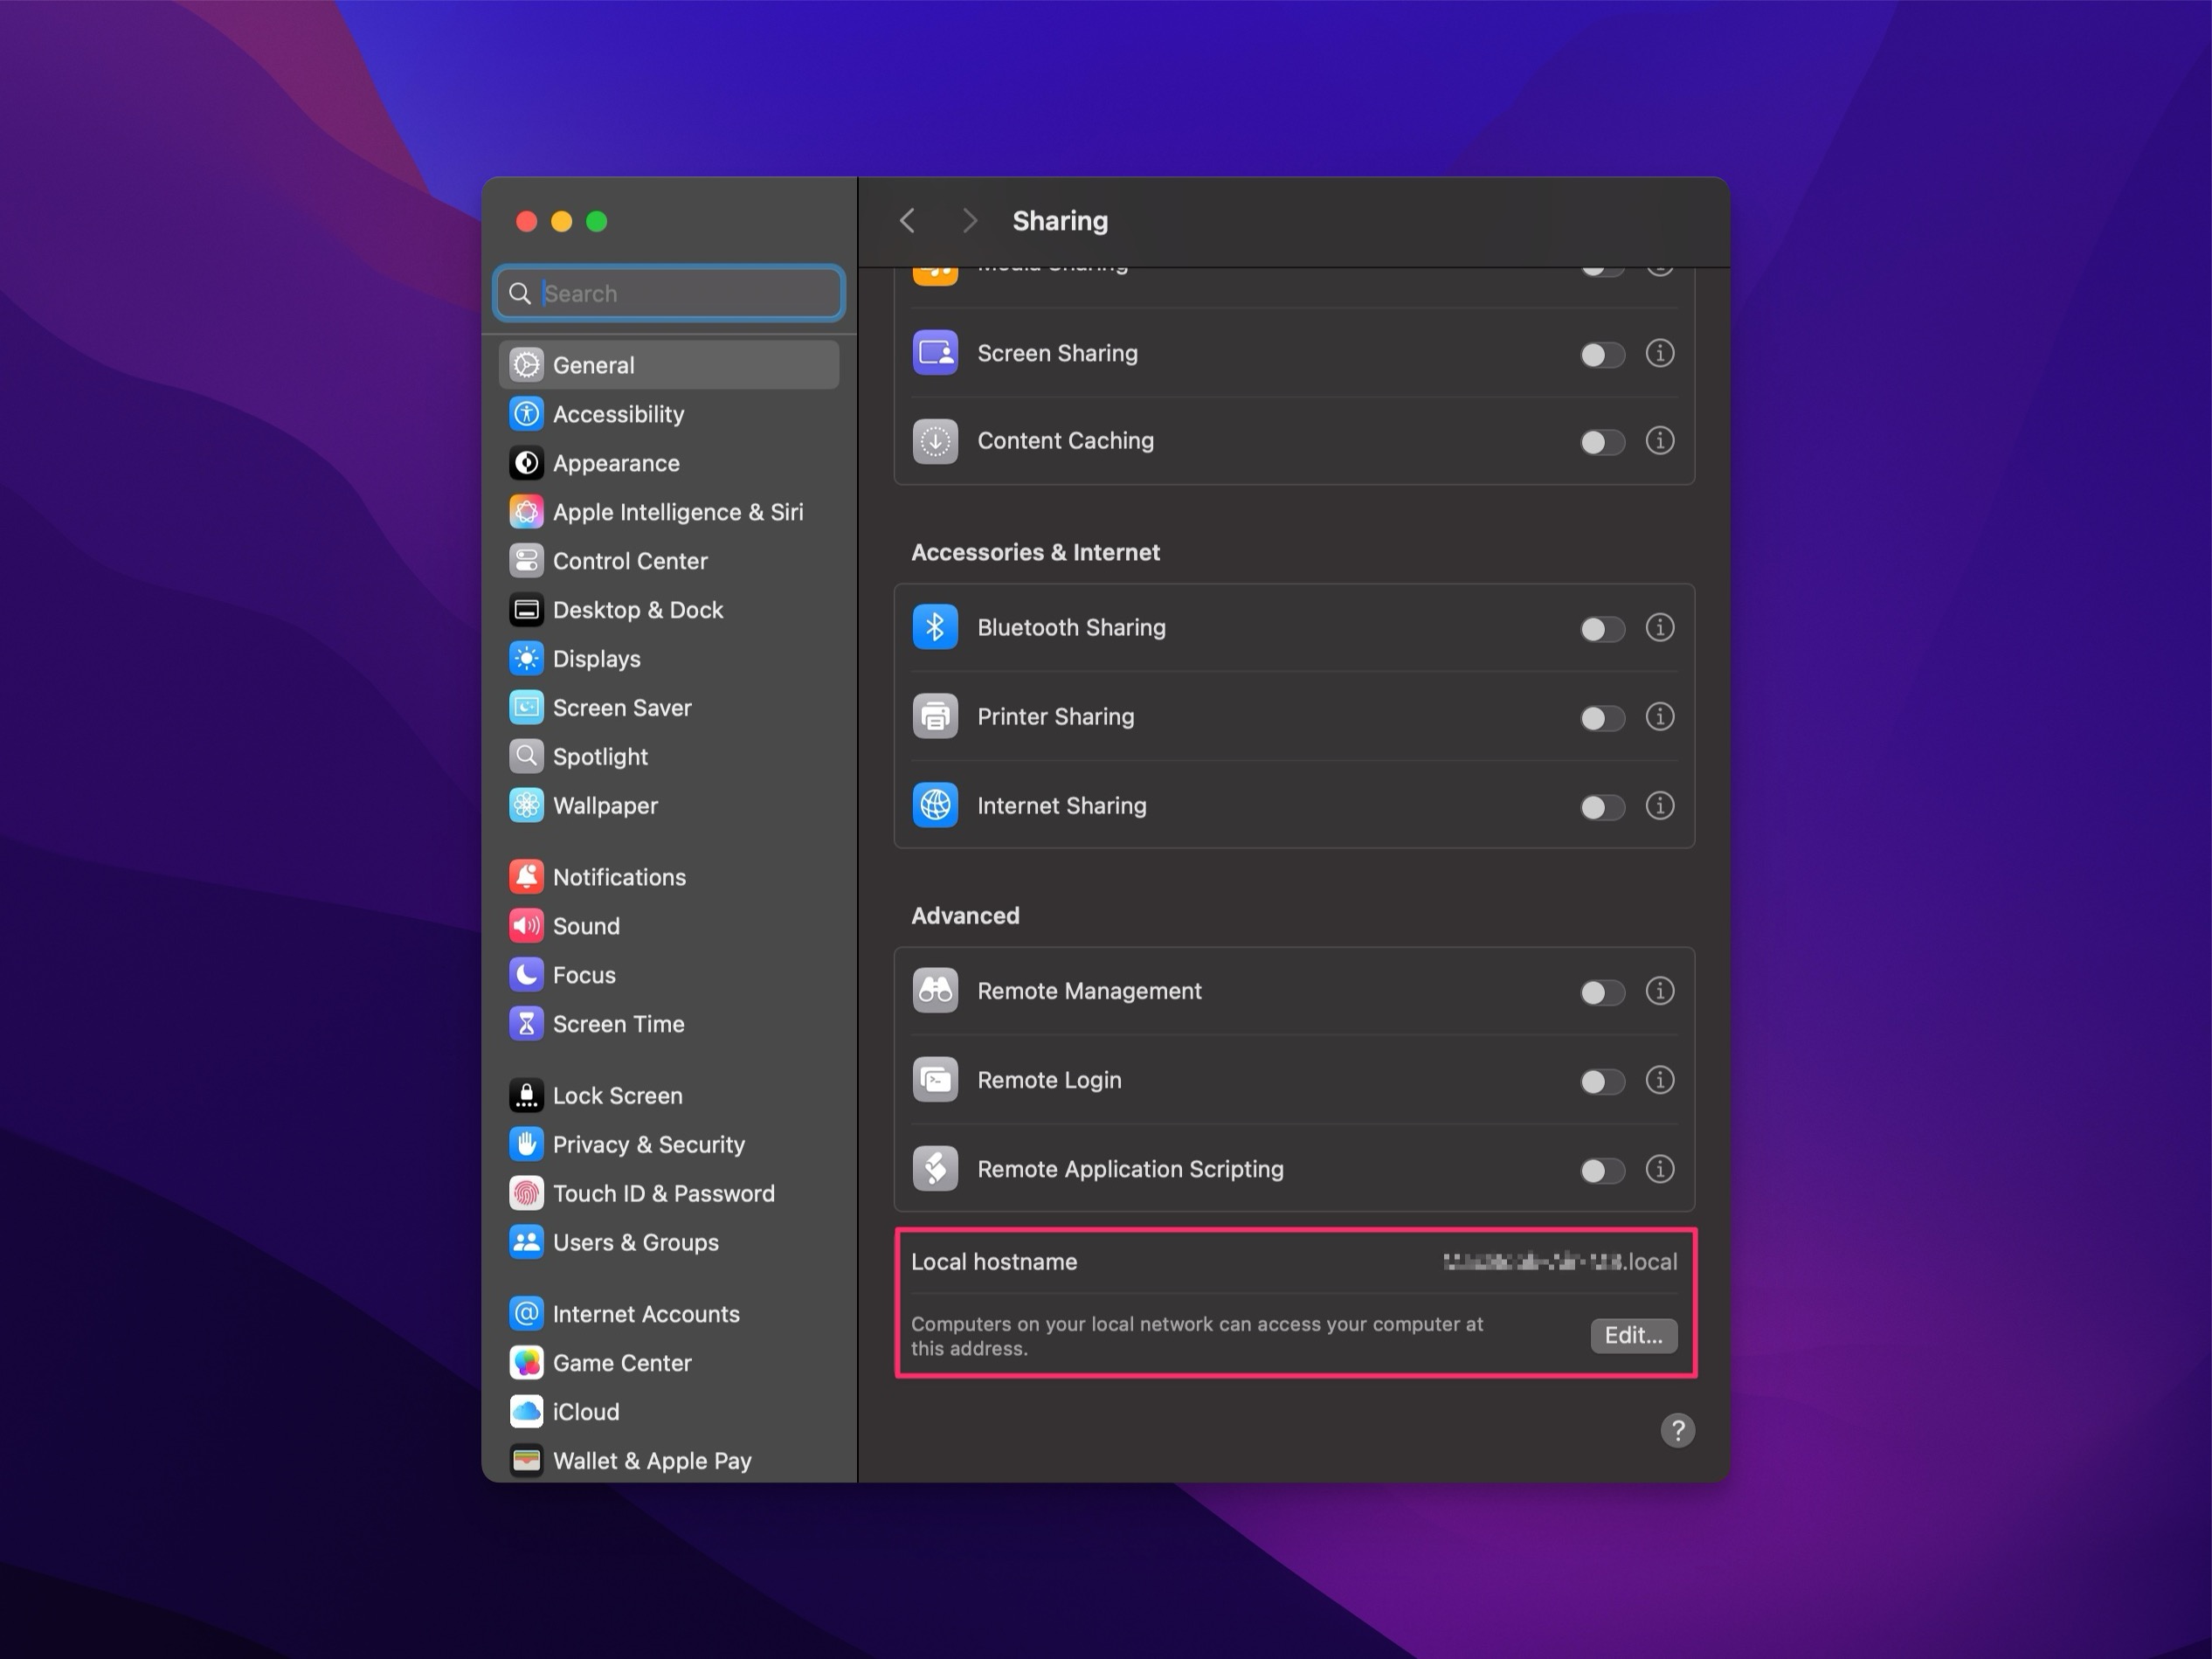
I also change the hostname to something unrelated to me personally—no username or similar identifiers. This way, during a network scan, it’s not immediately obvious which device is mine, adding an extra layer of security.
TimeMachine
I make sure to have backups of all my MacBook data, including iCloud files, on an external, encrypted storage device.
I use two main storage options:
- External Samsung SSD (Samsung Portable T7): This SSD provides high read/write speeds, ideal for fast, regular backups. Once a week, I connect it to ensure a full, up-to-date backup. This routine is essential to my data security strategy, providing an always-current copy in case of unexpected issues.
- USB Stick (Samsung Flash Drive Type-C): Although it doesn’t match the SSD in speed, this stick is permanently connected to my Apple Studio Display as a convenient, secondary backup option. Its constant availability means I don’t need to manually connect it for backups. While slower, it offers reliable, no-hassle extra security.
Using both ensures my data is stored on both a fast and always-available medium.
Previously, I used a Synology NAS for Time Machine backups. But to avoid having an insecure OS between my MacBook and my data, I prefer direct storage.
Offline Folders Synced with iCloud
Moving the Downloads Folder
To keep my data organized and ensure important downloads are always accessible, I moved my Downloads folder to iCloud. I often found myself needing files from my local Downloads folder on my iPhone while on the go. Moving it to iCloud ensures I can access downloads across all my iCloud-connected devices.
The steps I followed:
-
Delete the Old Downloads Folder:
- Open Terminal.app
- Remove the old Downloads folder with the following command (note: this action is permanent, so be sure to back up important files first):
sudo rm -rf ~/Downloads
-
Remove the old Downloads folder from the Dock.
-
Create the Symbolic Link:
- Create a symbolic link for the iCloud Drive Downloads folder in your Home directory to replace the original Downloads folder:
ln -s ~/Library/Mobile\ Documents/com\~apple\~CloudDocs/Downloads ~/Downloads
- Add the iCloud Drive Downloads folder to the Finder’s Favorites bar.
- Add the iCloud Drive Downloads folder to the Dock.
This adjustment makes my Downloads folder available on all iCloud-connected devices, saving time and reducing the frustration of files being only locally available.
Pictures Folder
I apply the same process for the Pictures folder to ensure my photos are accessible across devices. Screenshots and image files are often needed on multiple devices, so I’ve synced this folder to iCloud using the same method as for Downloads.
Steps are similar:
-
Delete the old picture folder:
-
Open Terminal.app
-
Delete the old pictures folder with the following command (Attention: This action is final, so make sure you have backed up all important files beforehand):
sudo rm -rf ~/Pictures -
Remove the old pictures folder from the dock if it is pinned there.
-
-
Creating the symbolic link:
- Create a symbolic link of the iCloud Drive Pictures folder in your home directory to replace the original Pictures folder:
ln -s ~/Library/Mobile\ Documents/com~apple~CloudDocs/Pictures/ ~/Pictures - Drag the iCloud Drive Pictures folder to the Favorites bar in the Finder for quick access.
- Create a symbolic link of the iCloud Drive Pictures folder in your home directory to replace the original Pictures folder:
Syncing this folder has made my workflow more efficient, especially when I need to access files I edited on my Mac while I’m out and about.
Final Thoughts
These are my essential setup steps as far as I remember. It’s been a while since my last fresh installation, so there might be some details I don’t recall perfectly. But that’s okay—many of these adjustments come down to personal preference. Each user has their priorities. Let’s be honest: at the end of the day, it’s just an operating system. Some prefer Windows because it feels more familiar, and that’s totally fine. I always say: the OS isn’t the main thing; it’s what you do with it. What really matters is how you work with it.
Next up, we’ll dive into the tools I use.
Yours, Joe